
Getting started
Usecue POS turns your phone into a complete cash register. It runs in your browser, so there is nothing to install, and the buyer pays by QR code straight into your own bank account. No payment terminal, no contract and no commission.
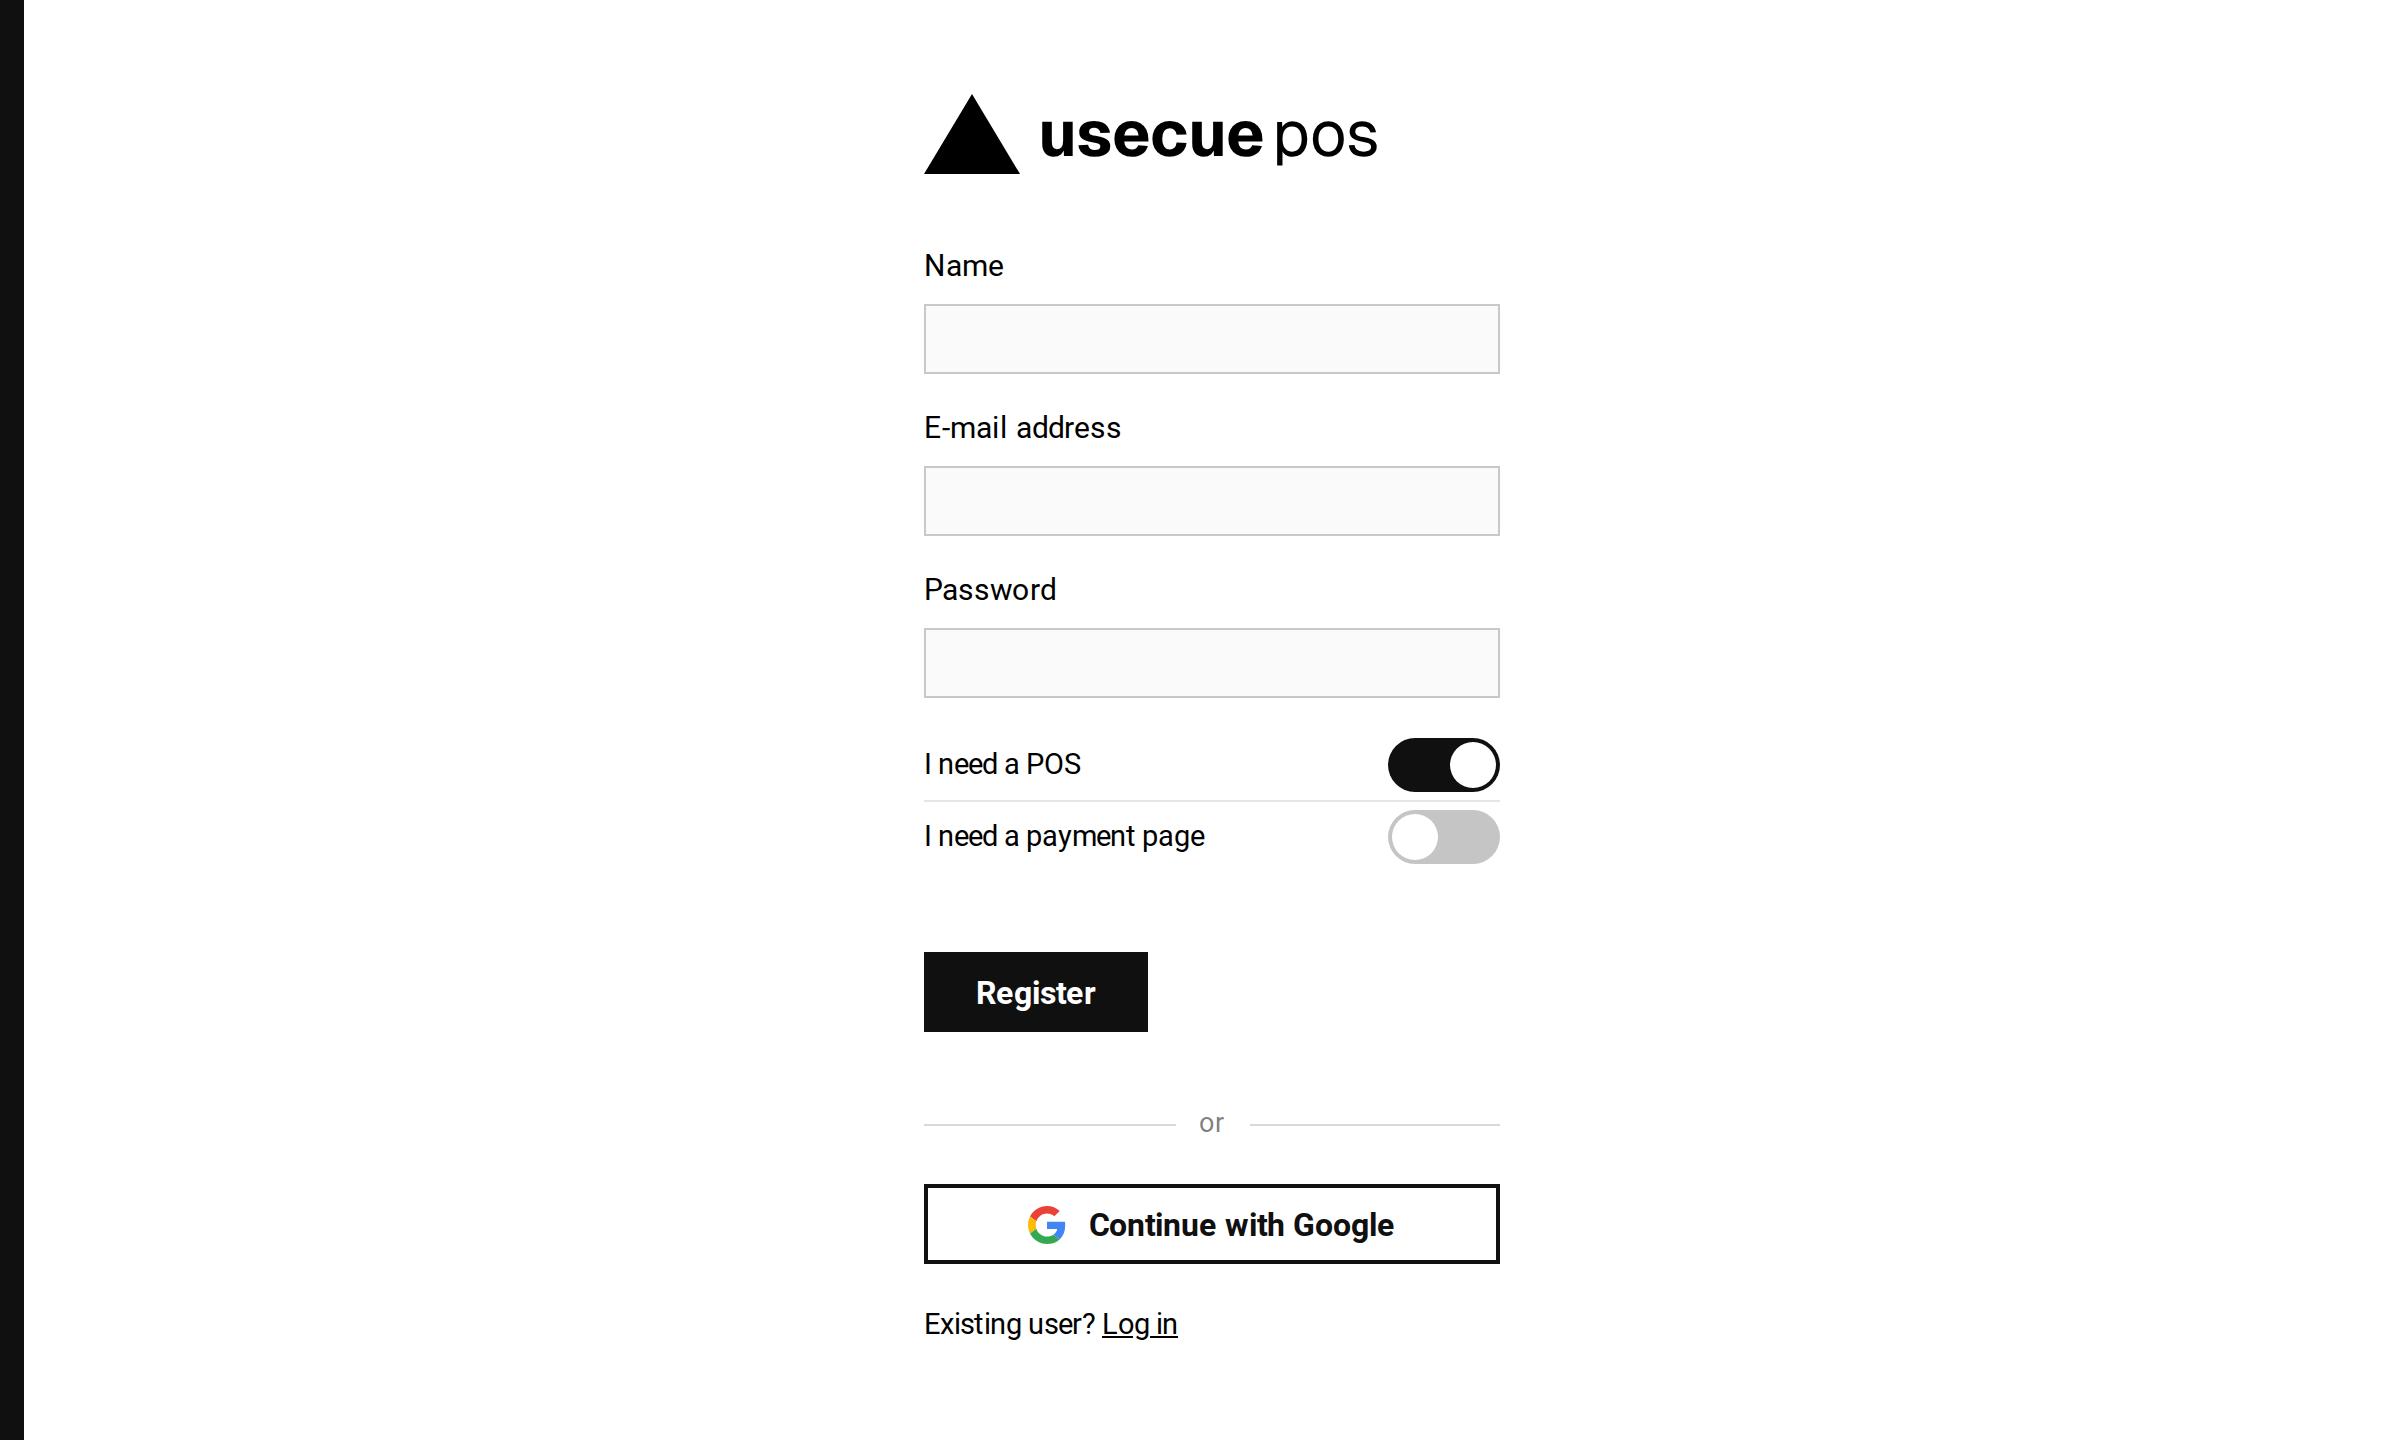 The register page; click to create an account
Create an account
First you have to create an account. Registering and taking your first payment takes just 1 minute.
Fill in your company profile
Before you actually start selling it is wise to fill in the ‘Company profile’ fields under ‘Settings’. Your name is what the buyer sees as the recipient, and your IBAN is the account the EPC QR code pays into. The settings page describes every field.
With your name and IBAN in place you can get paid straight away: the buyer scans the EPC QR code, or transfers the amount manually. You can also add payment links, such as Tikkie, under ‘Settings’ > ‘Point of sale’ > ‘Payment links’, but that is optional and not needed to get started.
What next?
You are ready to sell. Continue with the point of sale to sell at the counter, or with the payment page to get paid from a distance. The frequently asked questions cover most of what comes up after that.
